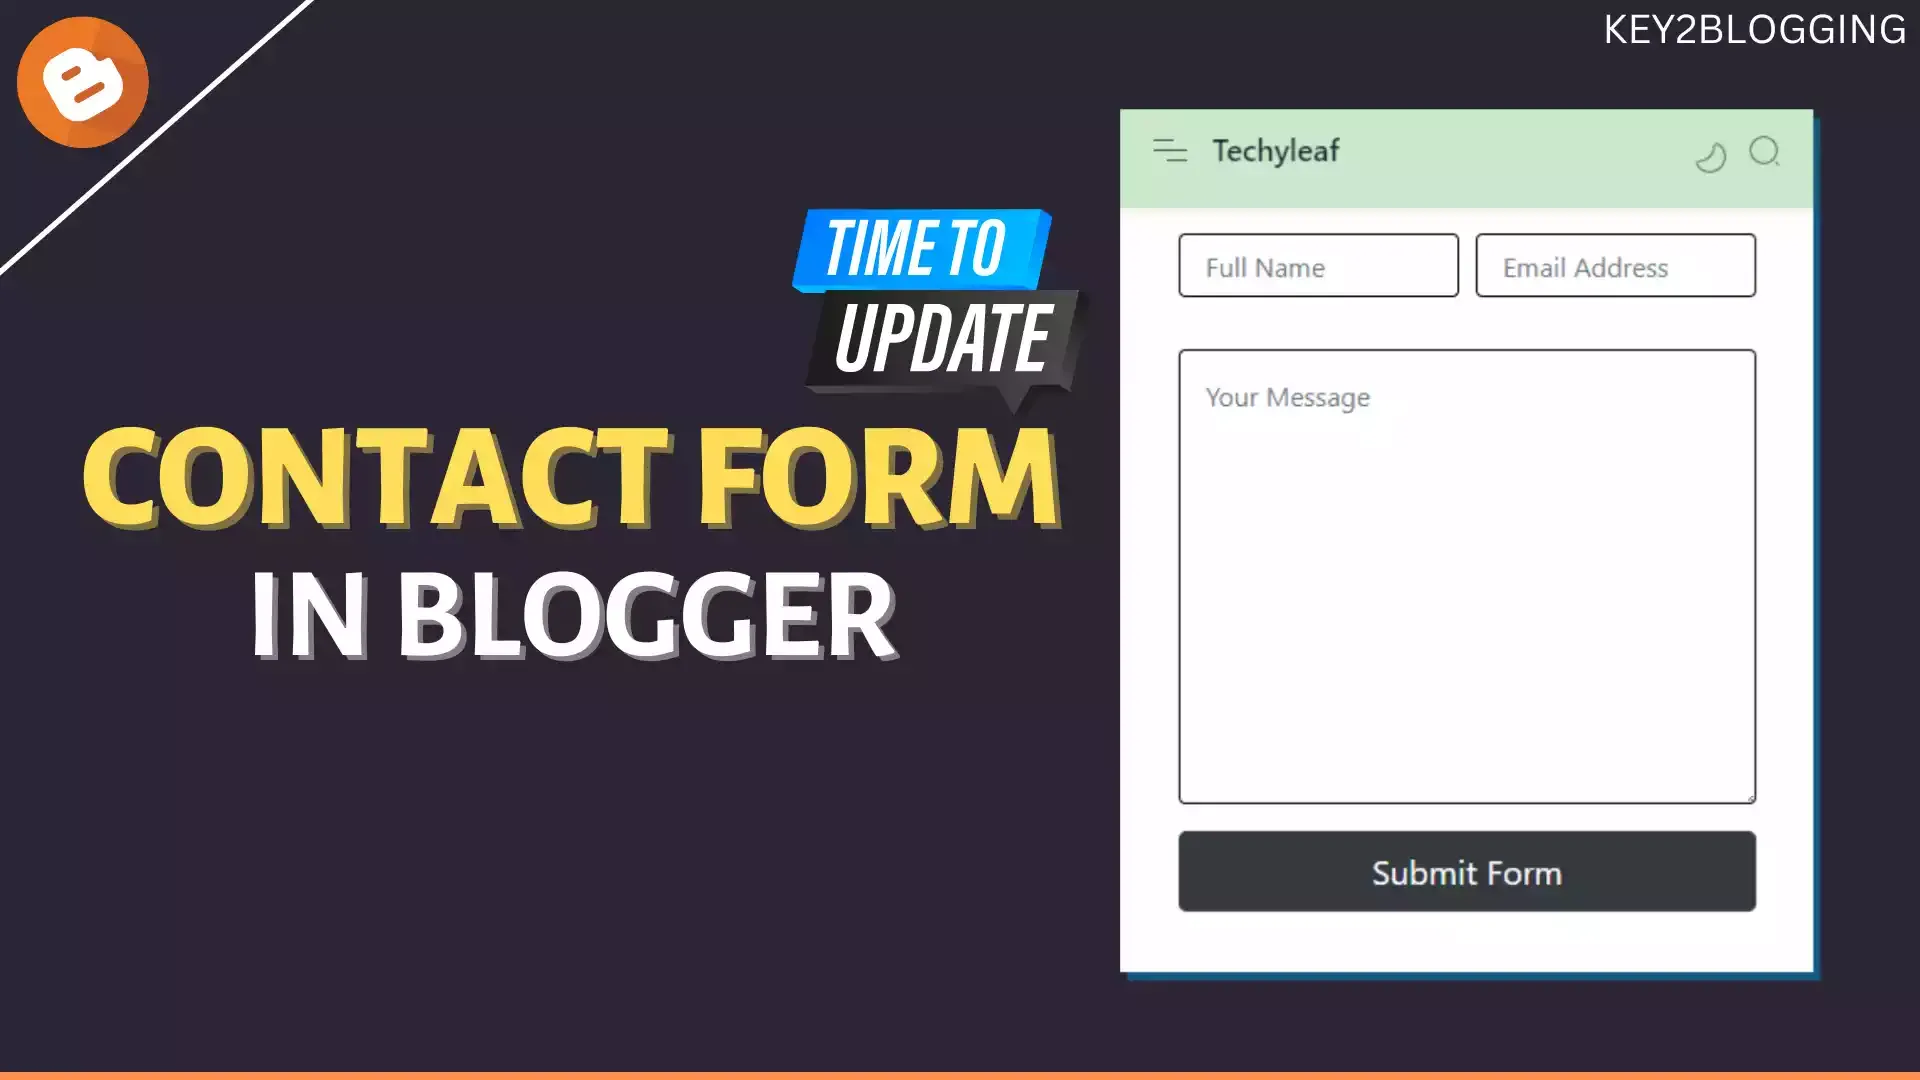
How to Add a Contact Form in Blogger ( Updated)
In this article, I will show you how you can add a contact form to your Blogger website. Contact form helps visitors send messages directly from your Website. So, users don’t have to manually copy the Email address and send messages to you. So, You can improve the User experience significantly just by adding a simple contact form to your Blogger website.
You can integrate the contact form in pages like Contact Us, write for Us, or Services pages. So, users can contact you directly without going to the Email App or website.
But, Recently the default contact form widget got broken and it is not sending emails to the inbox. So, we need to change that form with a third-party form service.
so, let’s check how you add the contact form to your Blogger website.
Steps to Add a Contact Form in Blogger
Go to your Blogger dashboard and create a new page or open your existing page.
Now switch the post editor from “Compose View” to “HTML View“.
Now you need to copy and paste the below code and change it with your email address.
<div class="container">
  <form target="_blank" action="https://formsubmit.co/youremail@gmail.com" method="POST">
    <div class="form-group">
      <div class="form-row">
        <div class="col">
          <input type="text" name="name" class="form-control" placeholder="Full Name" required>
        </div>
        <div class="col">
          <input type="email" name="email" class="form-control" placeholder="Email Address" required>
        </div>
      </div>
    </div>
    <div class="form-group">
      <textarea placeholder="Your Message" class="form-control" name="message" rows="10" required></textarea>
    </div>
    <button type="submit" class="btn btn-lg btn-dark btn-block">Submit Form</button>
  </form>
</div>

<link rel="stylesheet" href="https://stackpath.bootstrapcdn.com/bootstrap/4.2.1/css/bootstrap.min.css">
Now save and publish the page.
To ensure that everything is running smoothly and that the email is being delivered, send a test message in the new contact form and it will ask you to verify your email address.
Now Open your email inbox and verify your email address with the given link.
Now, whenever someone enters their Name, Email Address, and Message, it will open a new page with ReCaptcha, so you can minimize the number of spam entries in your contact form.
Now you can use the form on the Contact Us page, services, Guest post pages, or even on the Homepage, etc.
There are various other alternatives like Google Form, and JotForm that you can use on your Blogger website.
I hope you have successfully added the new contact form to your Blogger website. If you have any doubts you can ask me on social media channels.


